Mastering The Art Of Household Inventories
I recently spent countless hours completing a full household inventory for a client. I hadn’t done one in years and it didn’t go smoothly.
OK, to be completely transparent, I’ve never actually completed a full household inventory – I’ve only directed staff to help them navigate the necessary information details.
Dang, it was a harsh teaching moment.
The things we did right
I hired an assistant to help me collect the data. It took three days to collect data and photographs for just over 1,600 items including: artwork, wine, personal and grocery products, household furniture and fixtures, Mr./Mrs. closets, small office equipment and furniture, and off-site storage unit contents.
Before I got started, I did some research to make sure that my inventory would include absolutely everything needed for insurance purposes. I looked through an example that a private inventory company provided me to determine if I was missing anything. This was something adequate for an insurance claim in case of replacement. I thought their method would be adequate for my client’s needs and, on top of that, it would require a lot less time on my part than the format I had used in the past. Theirs was merely a Word document with photos and an imported Excel spreadsheet noting: Item, Description, Quantity, Color and Brand Name. Easy peasy!
But before I could submit my inventory for client approval, I could tell this wasn’t enough. As some of the summer clothes were being moved to storage, these changes couldn’t be made easily in my current work. How dare them! Basically, I hadn’t created a system that made these changes easy to capture, which rendered my work useless. Ugh!
I needed all information separated into columns that could be sorted if my client asked for pictures of, for example, all of his black slacks and their locations. So, I dove back into Excel and reorganized and renamed absolutely everything.
Here’s what we learned
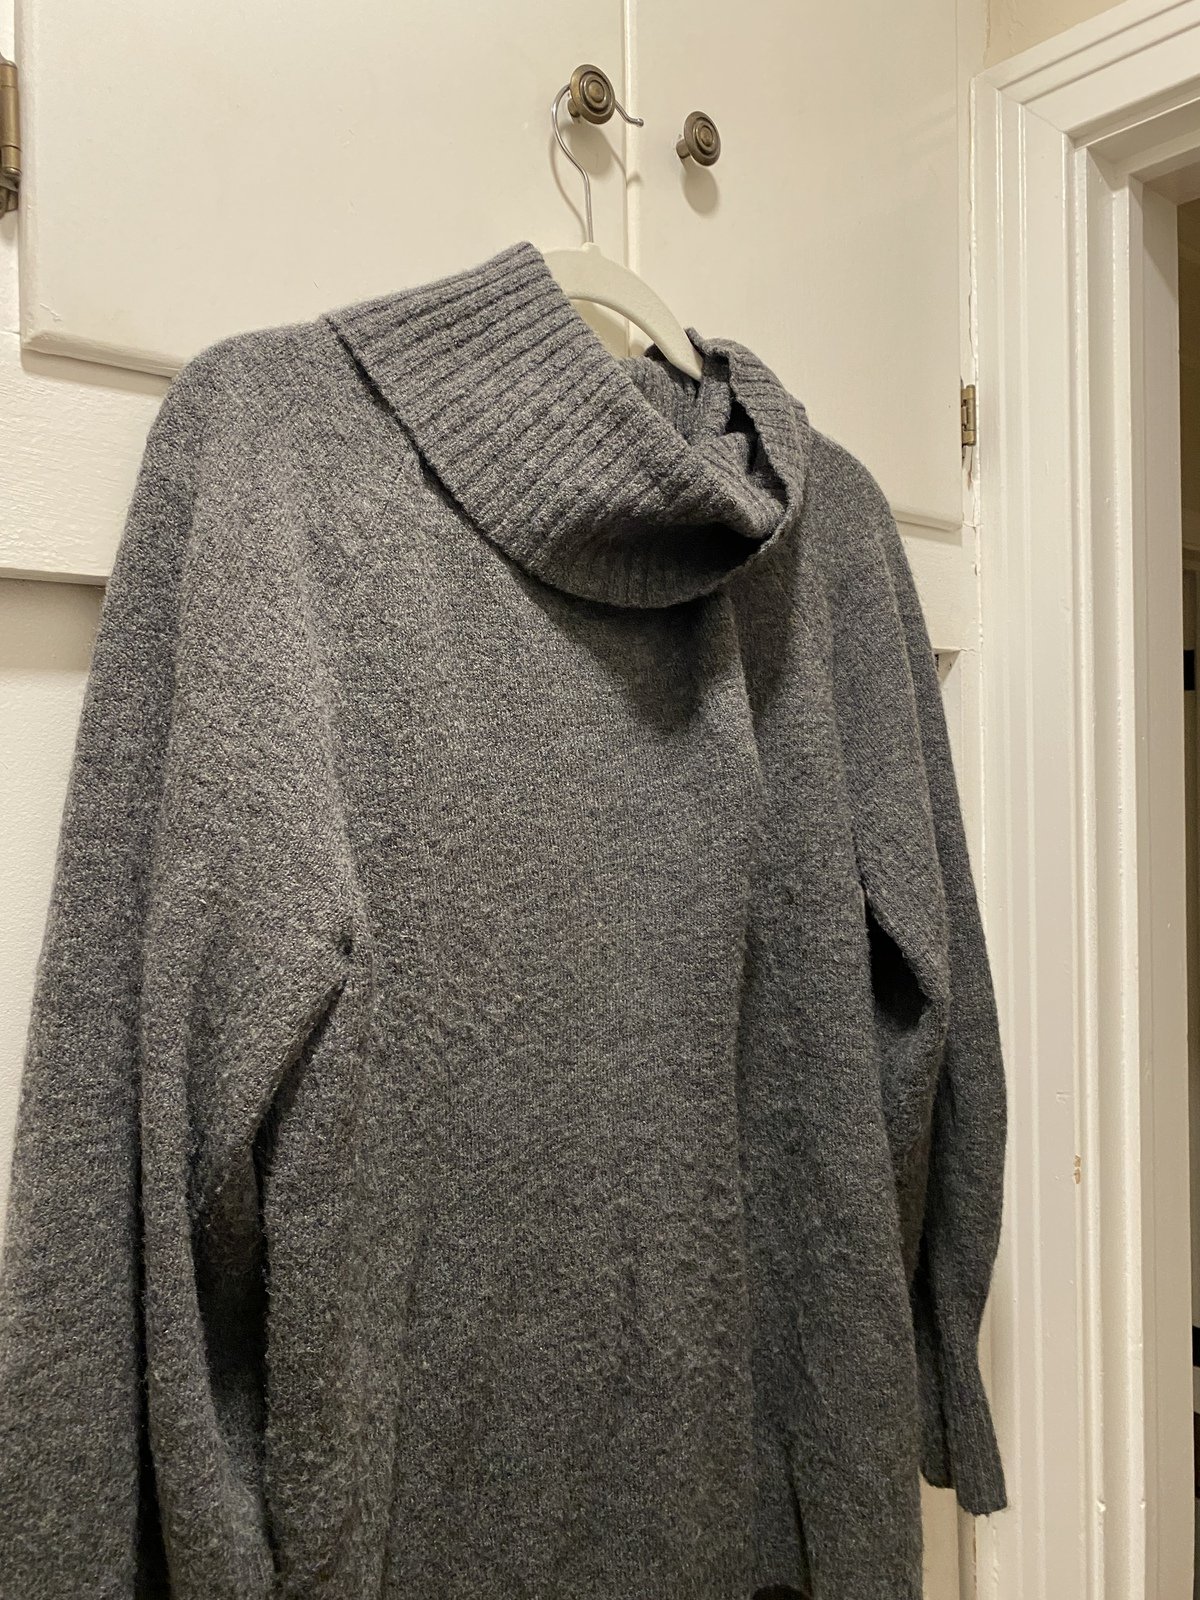
The description we used for this sweater: Women’s sweater; long sleeve; cowl neck; wool; charcoal gray; size L; Saks; $250; Dry Clean Only
Noting details and naming content are CRITICAL! Let’s use this sweater as the example.
Start with naming each piece either Men’s, Women’s, Boy’s, Girl’s, etc.
Then: pant, shirt, dress, etc. Watch whether you use the word “slacks” or “pant(s).”
For shirts, are they short- or long-sleeved? Then, are they: dress shirts, polos, t-shirts or sweatshirts?
Then note distinguishing feature like: zip front, button-down, V-neck, hooded, etc.
Then, in separate Excel columns, capture:
Color
Brand
Size
You might want to add a column for “Notes” like summer or winter wardrobe.
Add a column marked “Location”. This is important and might likely be the first column. Each item’s location can easily be changed if you move a piece of clothing from storage to the master closet.
Remember, typing details matter. Make sure to avoid any extra spaces, periods, hyphens or commas in your naming for best results when sorting column contents.
Additional information that may be helpful is the cost of the item, where it was purchased and when, and any special laundry instructions.
Here’s an example of what worked for us:
After all this extra work, now if I’m asked to send all Size 36 black men’s dress slacks to storage, no problem. How many tuxedos do they have in Los Angeles? Five. Done!
NOTE: If you work for fashionistas, consult their stylists, ditch this method and use an app. Here are some apps to consider. If you use one not listed here, please share the resource below.
Oh, the joy in doing things right the first time. Lesson learned.
Do you have our FREE Cheat Sheets?
Master List of Lists for Managing a Mansion
and
Contractor’s Memorandum of Understanding?
If not, submit your email address here to immediately receive both important documents..
Please invite a friend and share this post on: Facebook | Twitter | LinkedIn
I hope this is helpful information. If there’s a way I can help you complete your digital house manual, please reach out. I’d love to hear from you.
You’ve got this!
xo
Kelly


